

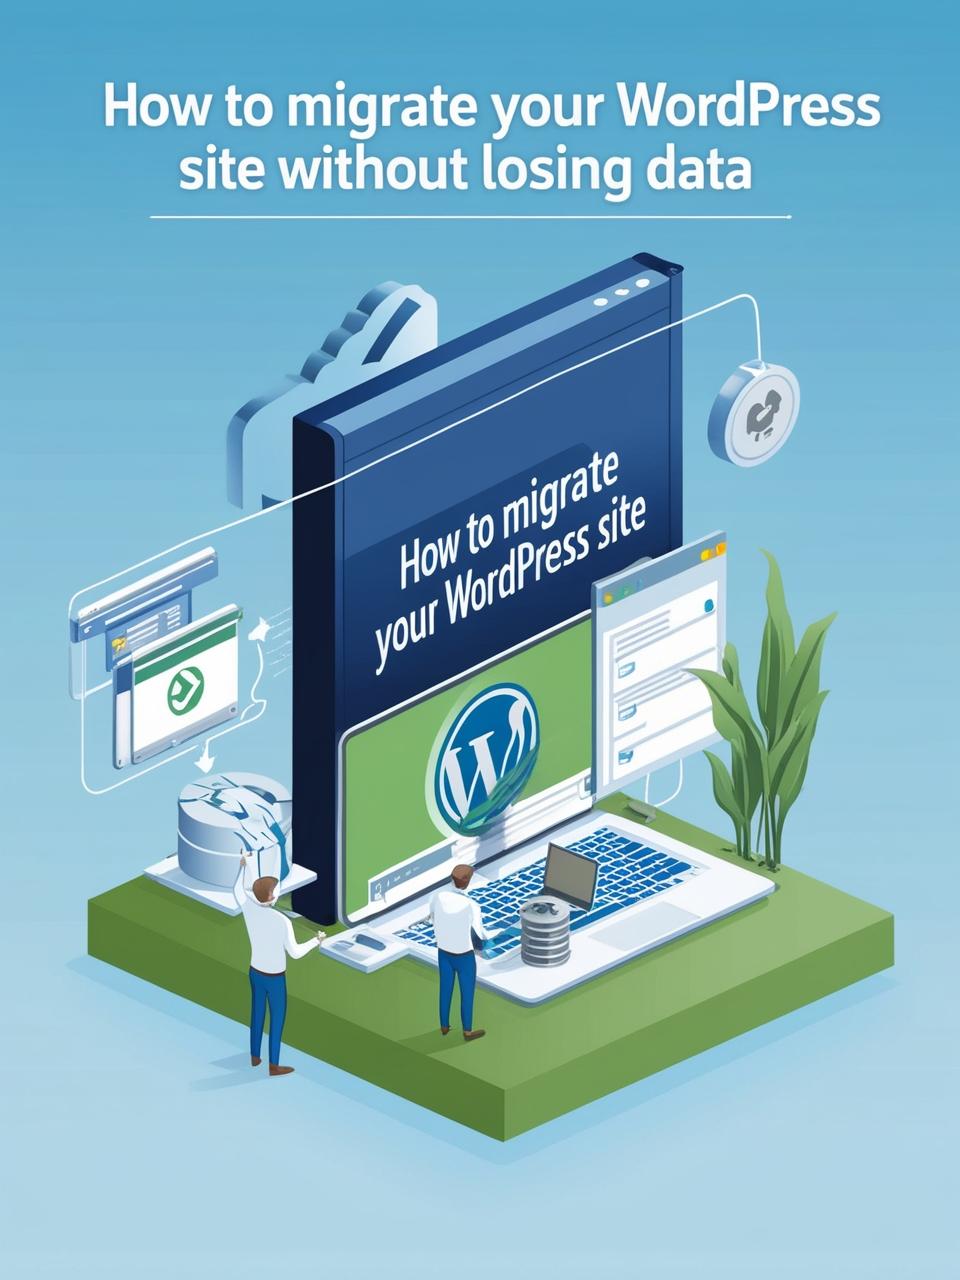
How to Migrate Your WordPress Site Without Losing Data
Migrating a WordPress site can be a daunting task, especially if you’re worried about losing critical data, breaking links, or experiencing downtime. Whether you’re moving to a new hosting provider, changing domains, or switching from localhost to a live server, a smooth migration is essential to maintaining your site’s SEO, functionality, and user experience.
This comprehensive guide will walk you through the safest methods to migrate your WordPress site without losing data, ensuring a seamless transition.
Why Proper WordPress Migration Matters
A poorly executed migration can lead to:
- Broken links & 404 errors – Hurting SEO rankings.
- Database corruption – Loss of posts, pages, or user data.
- Downtime – Affecting visitor trust and revenue.
- Plugin/theme compatibility issues – Causing site errors.
By following best practices, you can avoid these risks and ensure a flawless move. If you need more information, here you go to our YouTube channel: https://www.youtube.com/@easythemestore
Methods to Migrate WordPress Without Data Loss
1. Using a WordPress Migration Plugin (Easiest Method)
Plugins automate the process, reducing human error. Recommended plugins:
Duplicator (Best for full site backups & migration)
All-in-One WP Migration (Simple drag-and-drop migration)
WPvivid Backup & Migration (Great for large sites)
Steps to Migrate with a Plugin:
- Backup your site (Files + database).
- Install the migration plugin on both old and new sites.
- Export the site package (includes database, themes, plugins, uploads).
- Upload to the new server and run the installer.
- Update DNS settings (if changing domains).
✅ Best for: Beginners, small to medium-sized sites.
2. Manual Migration (For Advanced Users)
If you prefer full control or have a very large site, manual migration is an option.
Steps for Manual Migration:
- Backup WordPress files (via FTP/SFTP – download
/wp-content,.htaccess,wp-config.php). - Export the database (using phpMyAdmin).
- Upload files to the new server (via FTP).
- Create a new database on the new host and import the SQL file.
- Update
wp-config.phpwith new database credentials. - Search & replace old URLs (use Better Search Replace plugin).
✅ Best for: Developers, large or complex sites.
3. Migration via Hosting Provider (Managed WordPress Hosting)
Many hosting companies (like SiteGround, Kinsta, WP Engine) offer free migration services.
How It Works:
- Submit a migration request.
- Their team handles the transfer.
- Minimal downtime, no technical work needed.
✅ Best for: Users who want a hands-off approach.
Critical Post-Migration Steps
After migration, ensure everything works correctly:
Test Your Site
Check all pages, posts, and media.
Test forms, checkout pages, and plugins.
Fix Broken Links & Update URLs
Use Velvet Blues Update URLs or Better Search Replace.
Set Up 301 Redirects (If Changing Domain)
Prevent SEO loss by redirecting old URLs to new ones.
Clear Caches
Purge server, plugin (WP Rocket, W3 Total Cache), and browser cache.
Update DNS & SSL Certificate
Ensure HTTPS works to avoid security warnings.
Common Migration Mistakes to Avoid
- ❌ Not backing up before migrating → Always have a backup!
- ❌ Skipping URL updates → Leads to broken links.
- ❌ Forgetting to test → Could leave critical errors unnoticed.
- ❌ Ignoring DNS propagation time → Changes can take up to 48 hrs.
Final Thoughts
Migrating a WordPress site doesn’t have to be stressful. By using plugins, manual methods, or professional hosting migration services, you can move your site safely without losing data.
Need help? Many hosting providers offer free migration—take advantage of it!
🚀 Pro Tip: Schedule migrations during low-traffic hours to minimize disruption.
Have you migrated a WordPress site before? Share your experience in the comments!