

How to Create 3D Product Configurators in WordPress: A Comprehensive Guide
In today’s competitive e-commerce landscape, offering an interactive and immersive shopping experience can significantly boost customer engagement and sales. One of the most effective ways to achieve this is by integrating 3D product configurators into your WordPress website. A 3D product configurator allows customers to visualize, customize, and interact with products in real-time, enhancing their buying experience and reducing return rates.
Why Use a 3D Product Configurator in WordPress?
- Enhanced User Experience – Customers can rotate, zoom, and customize products in 3D, providing a more engaging shopping experience.
- Increased Conversions – Interactive product displays lead to higher engagement and more confident purchasing decisions.
- Reduced Returns – When buyers can see and customize products in 3D, they are less likely to return items due to mismatched expectations.
- Competitive Advantage – Stand out from competitors by offering cutting-edge product visualization.
Steps to Create a 3D Product Configurator in WordPress
1. Choose the Right Plugin or Tool
Several WordPress plugins and third-party tools can help you integrate 3D product configurators. Some popular options include:
- Threekit – A powerful platform for 3D and AR product visualization.
- Virtuoso – A WordPress plugin for interactive 3D product customization.
- WooCommerce 3D Product Configurator – A dedicated solution for WooCommerce stores. Our YouTube channel; https://www.youtube.com/@easythemestore
2. Prepare Your 3D Models
Before integrating a configurator, you’ll need high-quality 3D models of your products. You can:
- Hire a 3D designer.
- Use 3D modeling software like Blender or Autodesk Maya.
- Convert existing CAD files into web-friendly formats (e.g., GLTF, OBJ, or FBX).
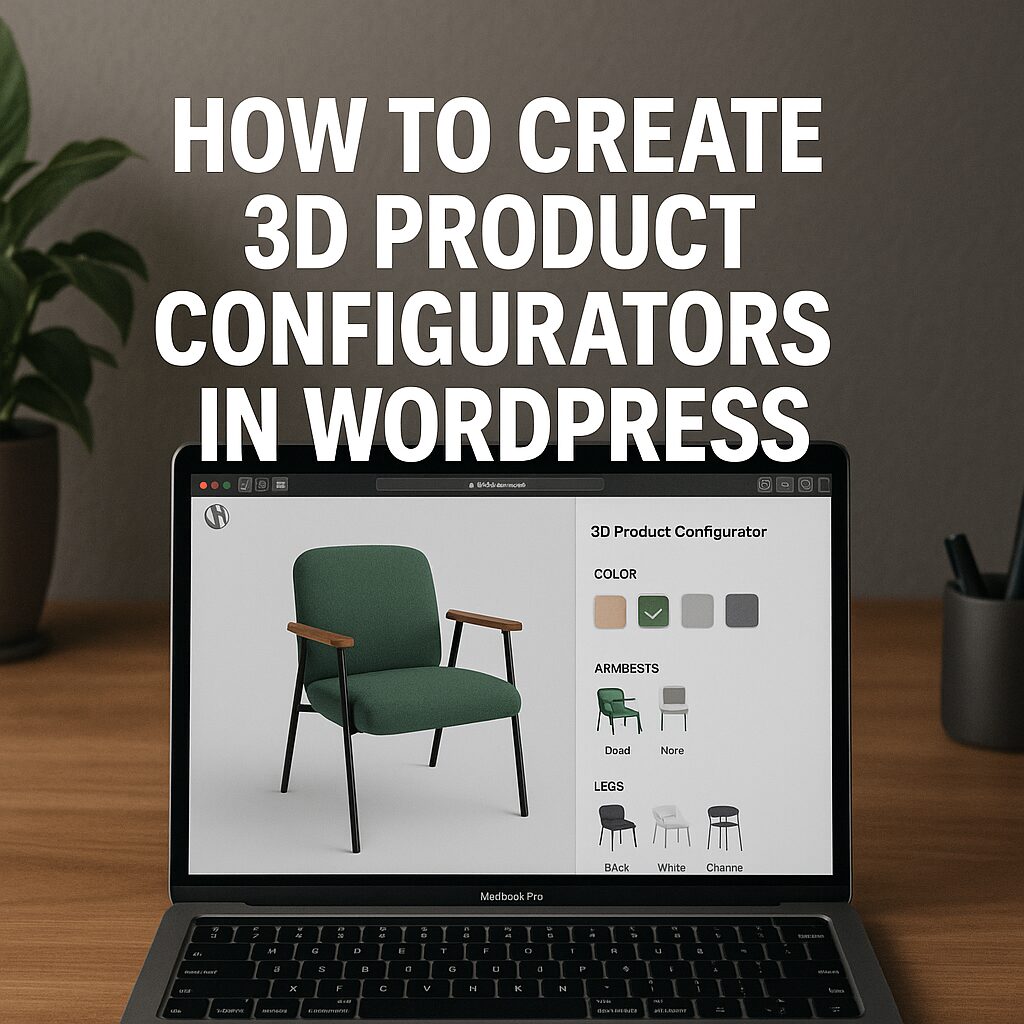
3. Upload and Configure the 3D Model
Once you have your 3D model, upload it to your chosen plugin or platform. Configure customization options such as:
- Colors
- Materials
- Sizes
- Additional features
4. Integrate with WooCommerce (If Needed)
If you’re running an online store, connect the 3D configurator with WooCommerce to ensure seamless product customization and checkout.
5. Optimize for Performance
3D models can be resource-heavy. Optimize them by:
- Reducing polygon count.
- Compressing textures.
- Using lazy loading to improve page speed.
6. Test and Launch
Before going live, test the configurator on different devices (desktop, tablet, mobile) to ensure smooth functionality.
Best Practices for 3D Product Configurators
- Keep it Simple – Avoid overwhelming users with too many options.
- Mobile-Friendly Design – Ensure the configurator works well on smartphones.
- Fast Loading Times – Optimize assets to prevent slow performance.
- Clear Call-to-Action (CTA) – Guide users toward purchasing or saving their customizations.
Conclusion
Adding a 3D product configurator to your WordPress site can revolutionize the way customers interact with your products. By following the steps above, you can create an engaging, interactive shopping experience that drives sales and customer satisfaction.
By targeting these key phrases, you can improve your site’s visibility and attract businesses looking for advanced product customization solutions.